[EN] Windows Kernel Exploitation – Setting up the Environment
I set up two different Windows OS like previous one and the second step is to set the Serial Port. It was easier to set up Serial Ports in VirtualBox than in Vmware. I was using Windows10Prox64 as a debugger. When I try to use Windbg on this

![[EN] Windows Kernel Exploitation – Setting up the Environment](/content/images/size/w2000/2022/05/environment.jpeg)
As can be understood from my previous articles, I was doing malware analysis. It will take time to deal with the issues encountered in the beginning. So I will explain these experiences.
The first try on Vmware Fusion
I preferred to use VMware Fusion as in my other analyzes. However, the biggest problem here was Serial Port setting. Although I tried different methods, unfortunately I was not successful.
The second try on VirtualBox
I immediately changed the virtualization application and started using VirtualBox. Setting up serial ports in VirtualBox was much easier when compared to VMware. I was using Windows10Prox64 as a debugger. When I try to use WinDbg on this VM, there was an unexpected error. Although I did that do research but I couldn’t find any solution. That’s why ı removed my VM and I reinstall it again.
Then, I decided to use Windows7Prox86 for both VM machines. After installing the software and other tools, I went to the Serial port configuration section. There was an important point to make a pathway. I made a path to /tmp/pipe for a debugger. I also did the same thing for debuggee. The only difference was that the debuggee machine marked as “Connect to existing pipe/Socket”. There was no problem with Debugger machine, and it was working well. When I try to run the Debugee machine, I got the NS_ERROR_FAILURE error. I was want to find the solution for this issue. I checked StackOverFlow and even the VirtualBox forum but I can say once again I failed.
The third try in VirtualBox with a single difference
I tried two different things when I was waiting for a response from them. Firstly, I set up a new Ubuntu VM as a main host. Then I installed VirtualBox in Ubuntu. After these steps, I created two different VM. But when I try to run the VM, I got a VT-x hardware acceleration error. I can say once again I failed.
I was trying to find new solutions even though getting many errors. I was trying to find new solutions even though getting many errors. So I also wanted to try it on Kali Linux which is based on Debian. I think the update process is not completed due to problems with the internet connection. That’s why I gave up trying it.
LAST TRY WITH VMWARE FUSION
I almost gave up. I tried it indirectly way and it works!! Let me tell you something about this experience.
- I created VM with Windows7Prox86 ISO file. It was my main host.
- Then, I installed VB in the main host. After that, I created two Windows7Prox86(Debugger and Debugee) VM in Virtual Box.
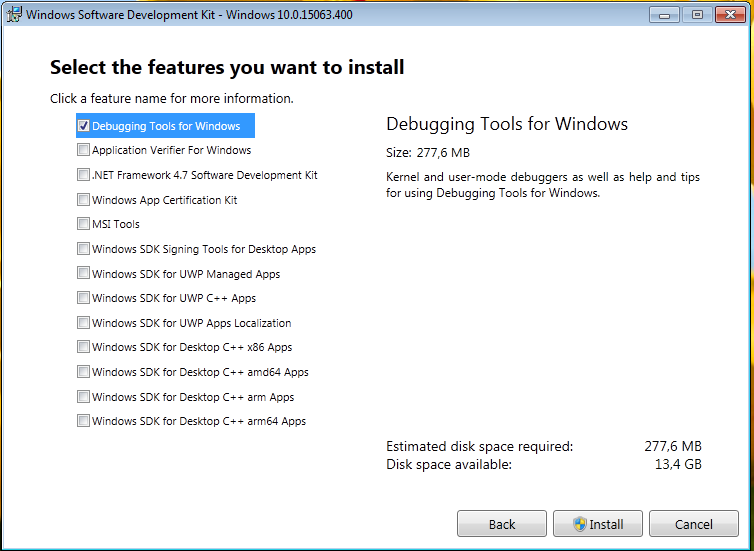
- Lastly, I installed Windows 10 SDK in Debugger VM
STEPS
1- Installed Windows 10 SDK in a Debugger VM. Depending on the machine you used during the installation, you may be able to install some additional software updates.
2- We need to set up Debugging Symbols in the Debugger VM. Fortunately, Microsoft provides public debugging symbols.
Variable Name: _NT_SYMBOL_PATH
Variable Value: SRV*C:\Symbols*https://msdl.microsoft.com/download/symbols
After WinDbg installs, we would need to enable debugging in BCD: Run cmd as administrator, and execute the following commands:
bcdedit
bcdedit /copy {current} /d “Debug”
bcdedit /debug {MY_GUID} on
bcdedit /dbgsettings
3- After everything, we need to establish a connection between the two sides. We need to enable Serial Ports on both the VMs, to make them communicate using a Virtual Serial Port.
4- Turn on the Debugger VM first (always), and select the first option without the [debugger enabled].
5- After the Debugger VM is booted up, open up the WinDbg –> File –> Kernel Debug –> COM.
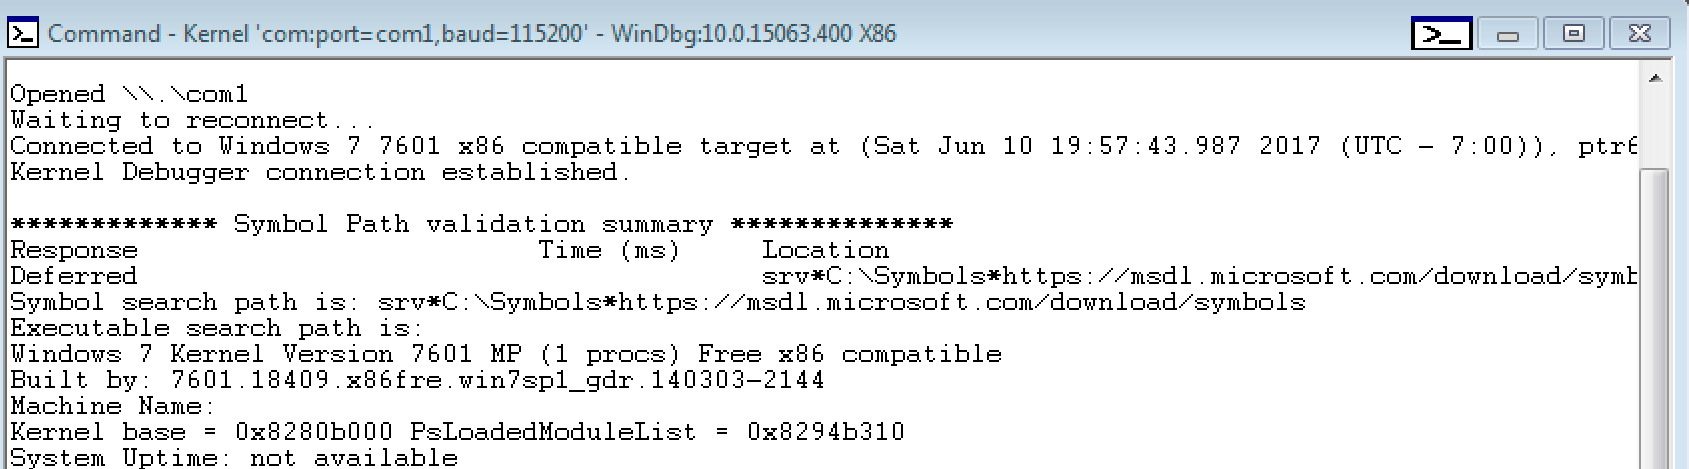
6- Boot up the Debugee VM, and select the second option with [debugger enabled].
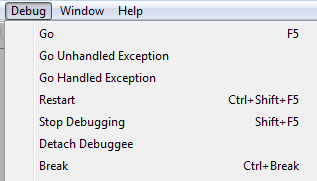
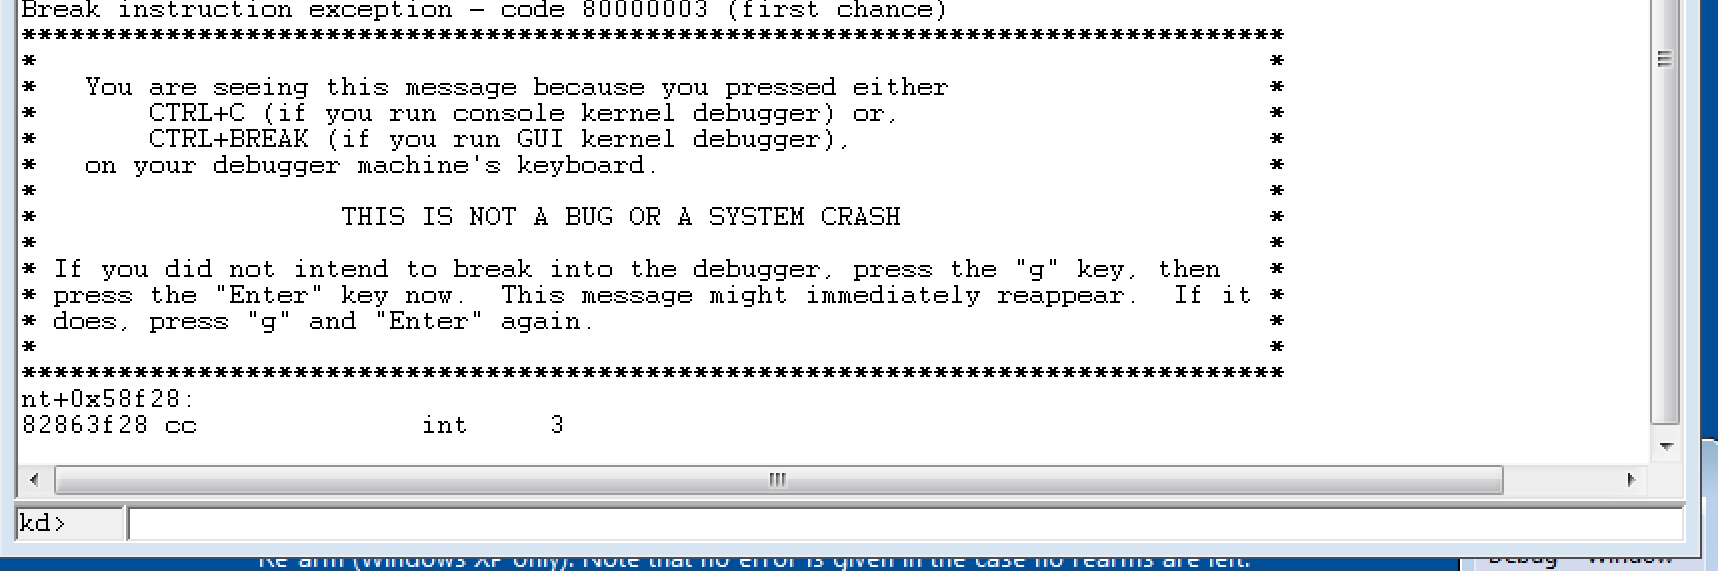
7- After the Debuggee VM is booted up, hit the Break button, and you should get an interactive kd> prompt, ready to take commands.
Thank you for your patience :) :) :)